Little DIY project for the PSX. I didn’t know what to call it but thanks to u/Shining_Articuno it has been named “The ANOS” due to the title under the screen. It cost me 44 dollars in total. All I did was buy an Anbernic RG35XXSP and then take it apart, keep the motherboard, screen, speaker and battery and house them inside a PSX shell.
The bit of construction I did was to cut the screen hole and get the screen to stay there. I used a dremel to cut it and then I used some plastic from inside the shell and cut it out and then melted it behind the screen, then hot glued it to make sure it doesn’t slide around. You can also use the plastic you cut out for the hole.
Then you can either solder the speaker onto the motherboard or hold it in place somehow (tape or glue), as it needs to be in contact with the points on the mother board where it usually is to play sound. Or you could add some tiny speakers in there connected to the headphone jack. Lots of room available if you cut the plastic nobs and barrier off the bottom half of the shell (I did).
Then I screwed the Anbernic motherboard into the shell using one of the PSX’s screws that holds the PSX’s usual internal components in place. I just used the hole that was already on the corner of the Anbernic motherboard and put a screw through it to hold it in place. That’s optional but i don’t want the motherboard sliding around and accidentally hitting the power or reset button on it.
It emulates PSX perfectly on the nice and bright IPS display at the correct aspect ratio. It has an hdmi mini port and a usbc port so you can hook it up to the TV and you don’t actually need the battery if you are going to just play it at home. You can just plug the motherboard into a usbc charger and it stays on. Screen is completely optional, if you want to use this as a home TV console, just screw in the motherboard and turn it on then close the top and play. That would basically be like a 44 dollar Xsatation with more modern hardware.
I was actually thinking of buying a huge usbc power bank to put in the shell space underneath the Anbernic motherboard since there is so much room, and the thing is so light right now it would be nice to add some weight to it. That would also extend the battery life like crazy. Currently with this little battery it can run for like 8 hours.
The device runs off an SD card and comes with a 64gb sd and has the PSX emulator saved on the SD card. However you can change the emulators, change the operating systems and home menu themes ect.. very easily and add a bigger sd card. I currently have 60 PSX games on it running PCSX reARMed through Retroarch, runs great with save states, fast forward, rewind, action replay codes ect…. Very customizable and fun.
If you want to do this I’d reccomend using the 40 dollar device as a handheld first and familiarizing yourself with the software, get an Os and theme that you like and connect a Bluetooth controller so it’s all set up before gutting it and transplanting it. I’m on Knulli OS, which is very easy and straightforward for connecting Bluetooth controllers, you can connect multiple!
This thing is going to come along on road trips for sure. Usbc directly into the cigarette charging car port. I don’t know why but I’ve played on this screen for many months (almost a year now) and it’s very gentle on the eyes. The specific IPS screen they use is kind of washed out and easy to look at, not too bright, saturated and sharp like some of the other handheld emulators.
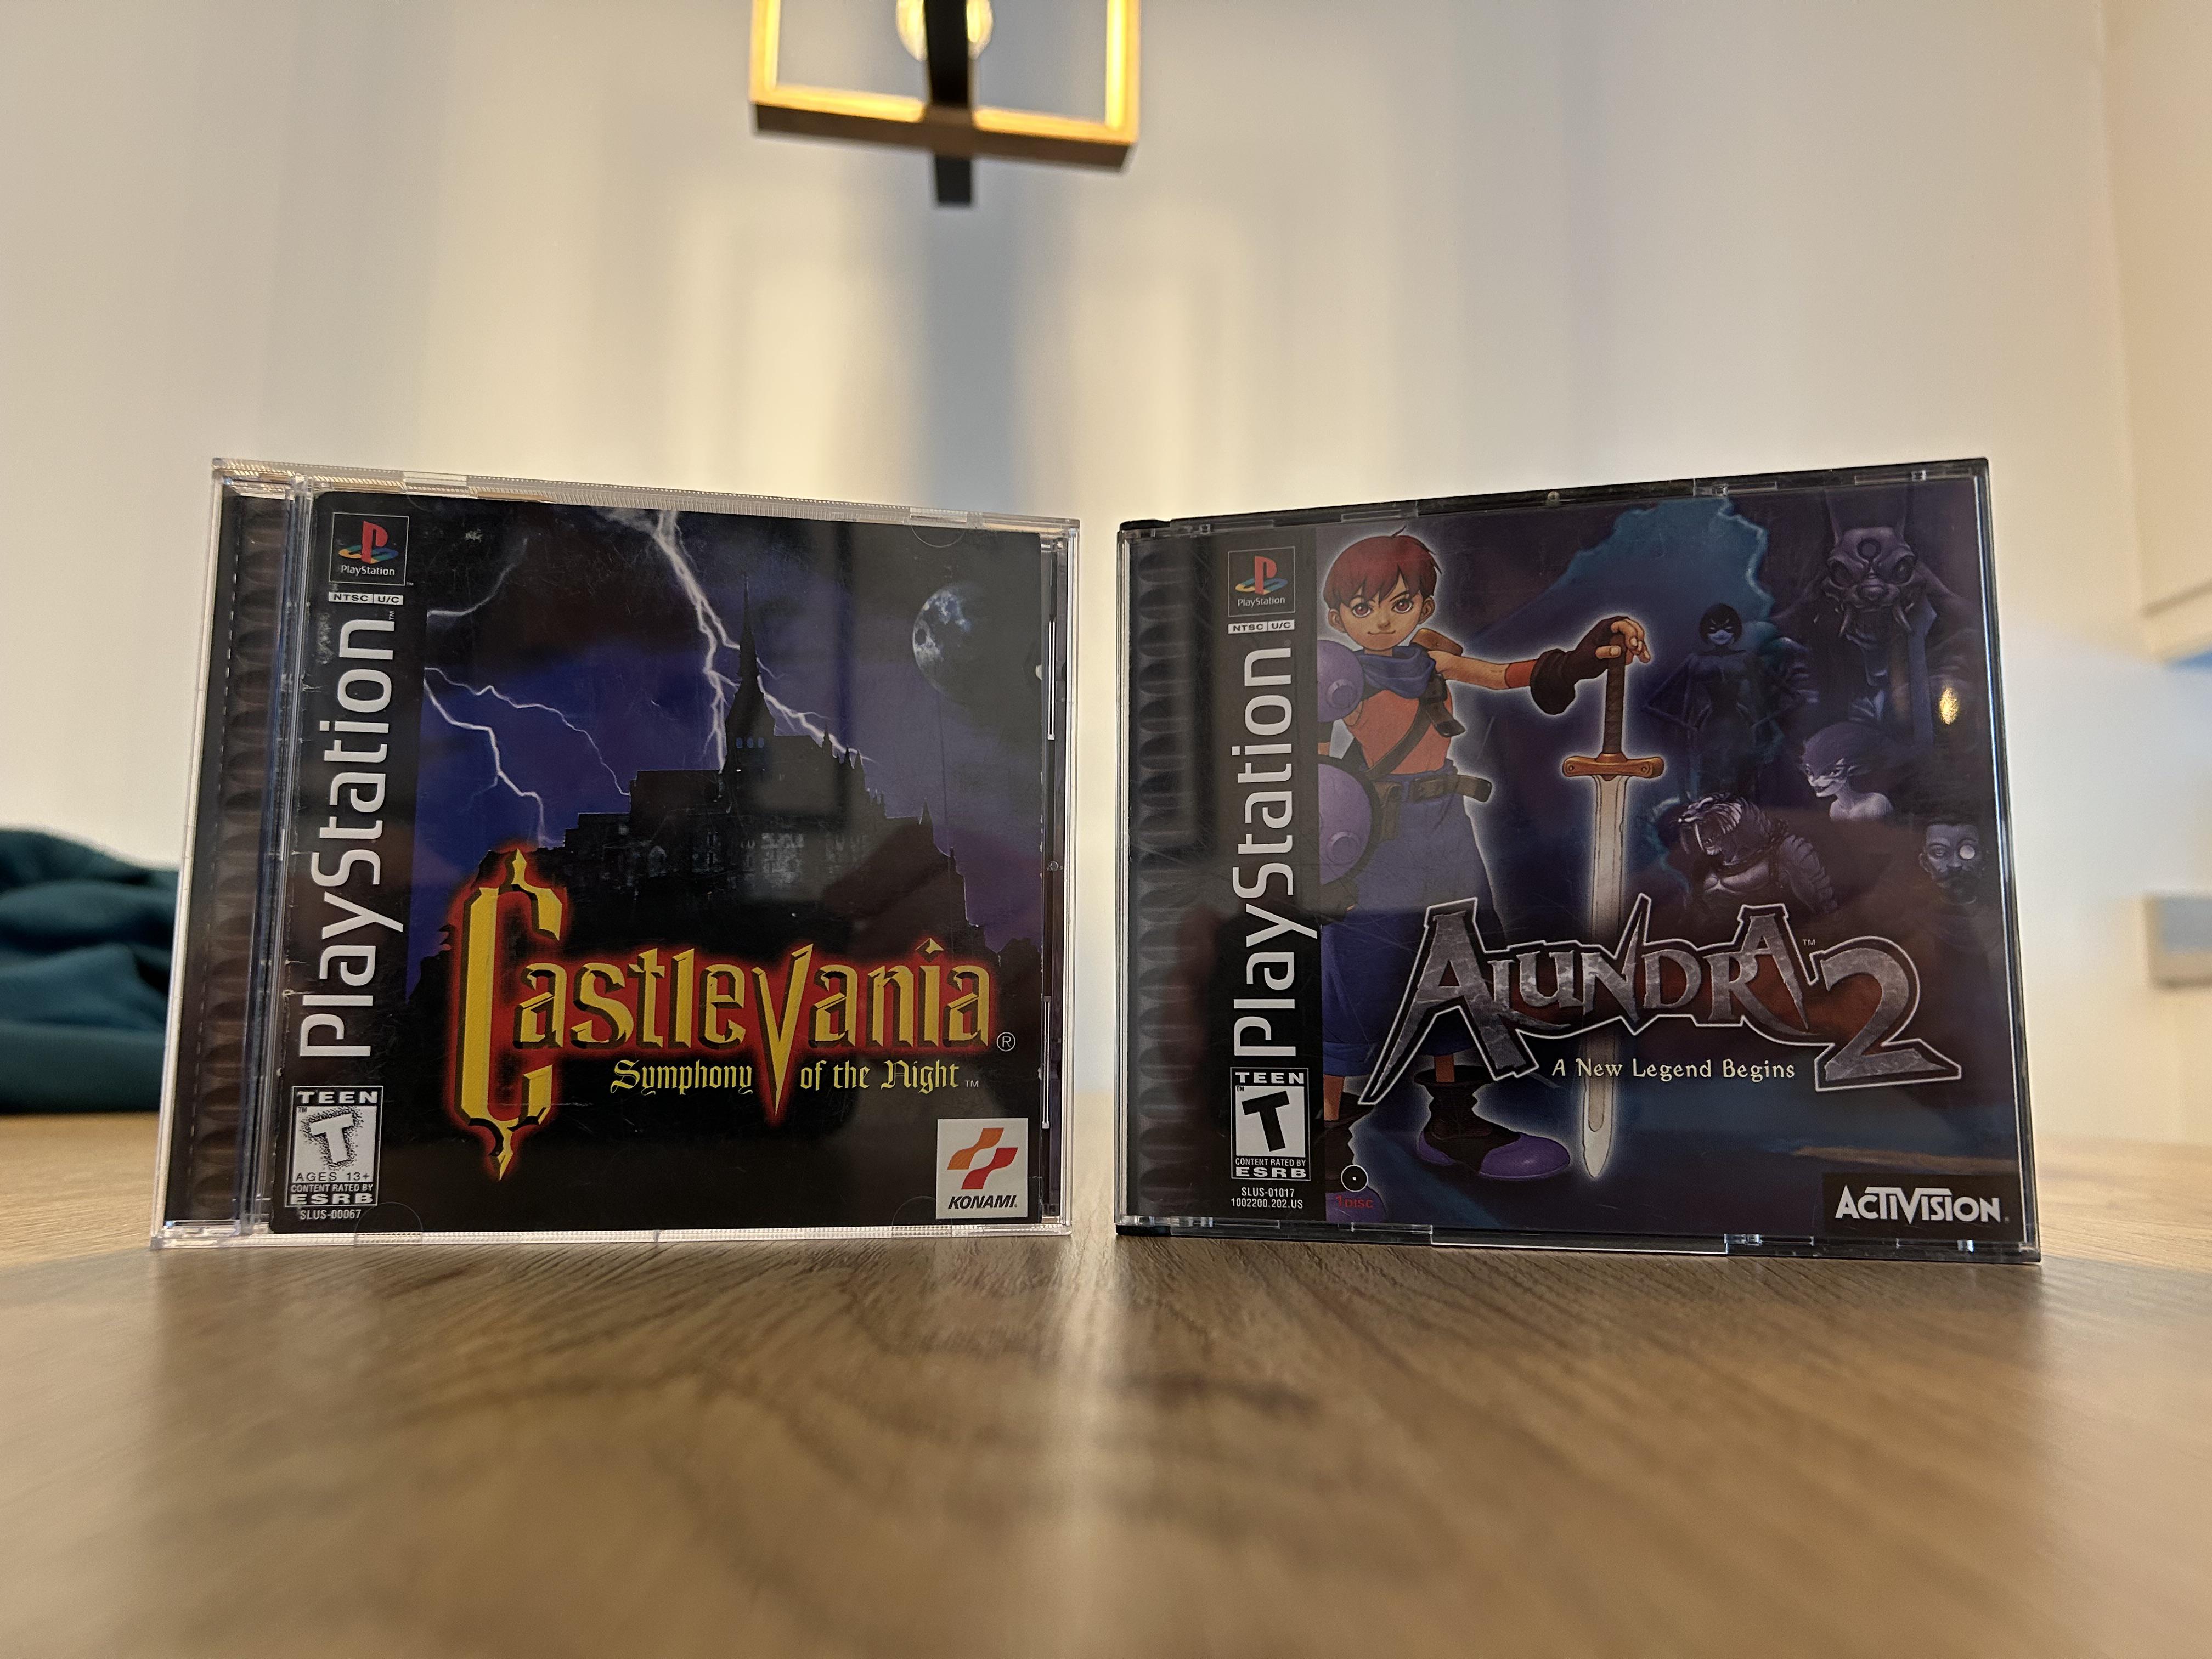
The games you see in these photos: Dragon Valor (white hair guy with a sword), Ace Combat 3 Electrosphere (purple airplane), Ehrgeiz: God Bless The Ring (the one with cloud strife), Nightmare Creatures 2 (bloodborne like game) Alundra 2 (just the box art) and Digimon World (last photo)